November 20, 2026
What Happens During a Professional Pressure Cleaning Job
By @cruzqznj323
If you own a home or commercial property on Sydney's North Shore, you already know how quickly surfaces collect grime. Leafy streets in suburbs like Lane Cove, Chatswood, Mosman, Pymble and Manly mean plenty of shade, moisture and organic debris, which creates the perfect conditions for mould, algae and lichen. Professional pressure cleaning is one of the most effective ways to reverse that buildup, but many property owners aren't sure what the process actually involves. This guide walks through each stage of a professional job so you know what to expect, how to prepare, and how to tell good workmanship from a rushed one.

Step One: Quote, Inspection and Assessment
A reputable pressure cleaning job begins before any equipment is switched on. The technician inspects the areas to be cleaned, identifies the surface types, and assesses the type and severity of staining. This inspection matters because a method that suits a concrete driveway can damage a timber deck or soft sandstone.
During the assessment, the technician will usually look for:
- Surface material: concrete, pavers, sandstone, brick, tiles, timber, render, Colorbond or slate, each of which tolerates different pressures and chemicals.
- Type of staining: mould, algae, lichen, oil, rust, tyre marks, tannin from leaves, efflorescence or general dirt.
- Existing damage: cracked pavers, loose grout, failing sealant, flaking paint or deteriorated mortar that could be worsened by high pressure.
- Access and water supply: where taps are located, how far hoses need to run, and whether wastewater can be managed properly.
- Surroundings: garden beds, pets, pool areas, neighbouring properties, windows, light fittings and electrical outlets.
North Shore properties often feature sandstone retaining walls, sloping driveways, older brickwork and established gardens, so this stage is especially important. A good operator will explain what can realistically be achieved and flag any surfaces that need a gentler approach.
Step Two: Preparation and Protection
Once the plan is agreed, the team prepares the site. Preparation protects both your property and the surrounding environment.
Clearing and Securing the Area
Outdoor furniture, pot plants, bins, toys and vehicles are moved away from the work zone. Doors and windows are closed, and sensitive areas such as external power points, meter boxes and light fittings are covered or avoided. If you are home during the job, you may be asked to keep pets and children away from the area for safety.
Protecting Plants and Gardens
Where detergents or cleaning solutions are used, nearby plants are typically pre-wet with fresh water and sometimes covered. Wetting the foliage and soil helps dilute any overspray. Professionals also take care with lawns and garden beds, which are common features of North Shore homes.
Managing Wastewater
Wastewater management is a genuine compliance matter in Sydney. Dirty runoff should not be allowed to enter stormwater drains, because stormwater flows untreated into local waterways such as Middle Harbour, Lane Cove River and Sydney Harbour. Under NSW environmental rules, pollutants including detergents, oils and sediment must be kept out of the stormwater system. Professional crews use measures such as drain covers or mats, sandbag barriers, wet vacuums or collection systems, and they direct water to appropriate areas like gardens or sewer-connected drains where permitted. If you are unsure about a provider's practices, ask how they handle runoff. A confident, specific answer is a good sign.

Step Three: Pre-Treatment With Cleaning Solutions
High pressure alone is not always the best way to remove biological growth. For mould, algae and lichen, a pre-treatment is often applied first. This may be a biodegradable detergent, a degreaser for oil stains, or a mild biocide or sodium hypochlorite-based solution for organic growth, depending on the surface and the problem.
The solution is applied and left to dwell for a period, usually several minutes, so it can break down the grime and kill growth at the root. Dwell time varies with weather. On a hot, windy Sydney day, solutions can dry too quickly, so experienced operators work in sections and keep surfaces damp. For rust stains, efflorescence or tannin marks, specialised products may be used, since standard detergents often don't shift them.
Step Four: The Pressure Cleaning Itself
This is the stage most people picture: a high-pressure water jet sweeping across the surface. In reality, skilled operators adjust several variables to get a clean result without causing damage.
Pressure, Nozzles and Technique
Pressure is measured in PSI or bar, and the right level depends on the material. Durable concrete can handle high pressure, while timber decking, render, soft sandstone and older mortar need much lower settings. The nozzle choice changes the spray pattern. Narrow, zero-degree nozzles are rarely used on most surfaces because they can etch or gouge. Wider fan tips, typically 15 to 40 degrees, are far more common for controlled cleaning.
Technique matters just as much as equipment. Operators typically:
- Keep the wand at a consistent distance and angle to avoid streaking or zebra-striping.
- Work in overlapping, even passes from one side to the other.
- Clean from the top down on vertical surfaces so dirty water doesn't run over finished areas.
- Use surface cleaners, which are rotating discs with enclosed spray bars, on large flat areas like driveways and patios for a more uniform finish.
- Switch to soft washing, a low-pressure method, for roofs, painted surfaces, render and delicate cladding.
Hot Water vs Cold Water
Most residential jobs use cold water, but hot water units are sometimes used for heavy grease, oil, chewing gum or commercial areas such as restaurant frontages and car parks. Heat helps lift oily residues more effectively than cold water alone.
Step Five: Rinsing and Detailing
After the main clean, surfaces are thoroughly rinsed to remove detergent residue, loosened dirt and dead organic matter. Leftover residue can leave a film or attract new dirt, so rinsing is an important step rather than an afterthought.
The operator then checks for missed spots, stubborn stains and edges. Detail work often includes cleaning along garden borders, around drains, up against walls, steps, and the grout lines between pavers. Some stains https://stephenfidz459.clearhavendigest.com/posts/how-to-avoid-leaving-etch-marks-on-limestone-pool-pavers-2 may require a second treatment, and a good provider will tell you honestly if certain marks, such as deeply set rust or old oil, can only be lightened rather than fully removed.
Step Six: Cleanup and Final Inspection
Once cleaning is finished, the crew cleans up the site. Collected debris, silt and slurry are removed, drain covers are taken away, and any furniture moved earlier is returned or left tidy. Walkways are rinsed so you don't track dirt back inside.
A final walk-through with you is standard practice. This is your chance to point out any areas that need attention and to ask about aftercare. It's best to inspect surfaces once they are dry, as wet surfaces can look different from the finished result.
Optional Extras: Sealing and Protective Treatments
Many North Shore property owners choose to follow cleaning with a sealer, particularly on pavers, exposed aggregate, sandstone and concrete. Sealing can enhance colour, make future cleaning easier, and reduce how readily surfaces absorb stains and moisture. Surfaces must be fully dry before sealing, so this is often done a day or more after the clean, depending on weather and the product used.
Other add-ons include:
- Anti-mould or anti-fungal treatments to slow regrowth in shaded areas.
- Re-sanding of paver joints after cleaning, since pressure washing can remove sand from between pavers. Polymeric sand is often used to help stabilise joints and discourage weeds.
- Timber deck oiling or staining after cleaning and drying.
How Long Does a Job Take?
Timeframes depend on the size of the property, the condition of the surfaces and the weather. As a general guide:
- A standard driveway or small patio often takes one to three hours.
- A full residential exterior, including paths, walls, driveway and entertaining areas, can take a half to full day.
- Roof cleaning, large commercial sites or jobs involving sealing may require multiple days.
Rain can delay outdoor work or sealing, so reputable providers build in flexibility, especially during Sydney's wetter months.
Safety and Insurance Considerations
Pressure cleaning involves high-powered equipment, slippery surfaces and sometimes work at height. Professional operators follow safe work practices, wear suitable protective equipment such as eye protection, gloves and non-slip footwear, and use appropriate fall protection for roof work. Under NSW work health and safety requirements, businesses must manage risks to workers and others on site.
Before hiring, it is sensible to check that the provider holds current public liability insurance. This protects you if accidental damage occurs. Ask for a written quote that lists the areas to be cleaned, the methods to be used and any extras, so there are no surprises.
How to Prepare Before the Team Arrives
A little preparation helps the job run smoothly. Consider the following:
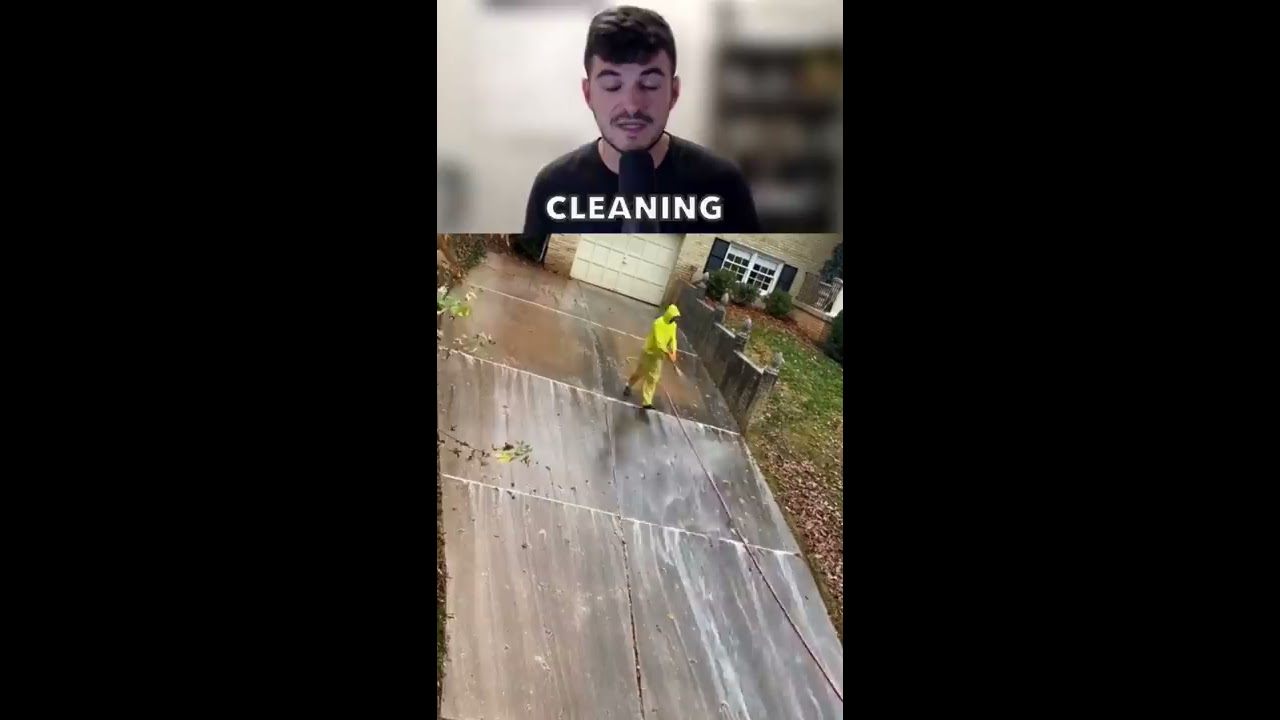
- Move vehicles, outdoor furniture, pots and loose items away from the areas to be cleaned.
- Make sure the crew has access to an outdoor tap with reliable water pressure, unless they bring their own water supply.
- Close windows and doors, and secure pets indoors.
- Point out problem areas, loose pavers, cracks or delicate surfaces during the initial inspection.
- Tell the provider about any plans for sealing or painting so the work can be scheduled in the right order.
Common Mistakes to Avoid
Whether you hire a professional or consider doing it yourself, a few pitfalls are worth knowing about. Using too much pressure on soft surfaces can leave permanent marks, strip paint, or erode mortar. Cleaning too close to windows, seals and gaps can force water into places it shouldn't go. Skipping pre-treatment on mould and lichen can lead to quick regrowth. And allowing dirty water into stormwater drains can breach environmental rules. These risks are the main reason many homeowners prefer to leave the work to experienced operators.
How Often Should You Pressure Clean in Sydney's North Shore?
Frequency depends on the location and conditions. Shaded, damp or tree-covered properties common across the lower North Shore and the upper North Shore may need cleaning every 12 months. Sunnier, more open areas may only need attention every two to three years. Roofs, which are cleaned less often, may be treated every few years depending on moss and lichen growth. Regular cleaning prevents buildup from becoming more difficult and costly to remove, and it can reduce slip hazards on paths, steps and decks.
Key Takeaways
A professional pressure cleaning job is much more than pointing a water jet at a dirty surface. It involves inspection, careful preparation, appropriate pre-treatment, controlled cleaning technique, thorough rinsing, wastewater management and a final check. When each stage is done properly, the result is a cleaner, safer and longer-lasting surface that improves the look of your property and protects your investment. When choosing a provider on the North Shore, look for clear communication, a written quote, current insurance, and a willingness to explain exactly how they will treat each surface. Those are the hallmarks of a job done right.
North Shore Pressure Cleaning Pros
(02) 9538 7942
❧